Setting up a Raspberry Pi Home Server
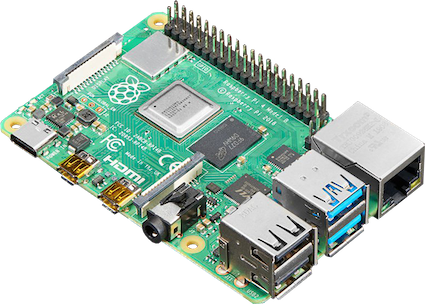
The Raspberry Pi has been the most popular single board computer (SBC) among computer hobbyists for the past decade. It can be used to perform a wide variety of very different tasks, such as running graphical apps, streaming media, performing home automation, and monitoring humidity levels in a greenhouse. This is largely made possible by the Raspberry Pi’s many interfaces (including GPIO, USB, HDMI, and wired/wireless Ethernet), as well as its ability to run the highly-customizable Linux operating system.
Because it comes with a 4-core ARM64 processor and up to 8GB of RAM memory, the Raspberry Pi 4 Model B (shown here) is particularly well-suited to running server services on a home network with the use of a hardware kit that includes one or more add-on boards, a solid-state drive (SSD), and small form factor PC case. While the recently-released Raspberry Pi 5 has a slightly faster processor and RAM, it’s more difficult to buy right now, and very few hardware kits currently support it. Thus, it’s best to stick with the Raspberry Pi 4 Model B when building a home server today.
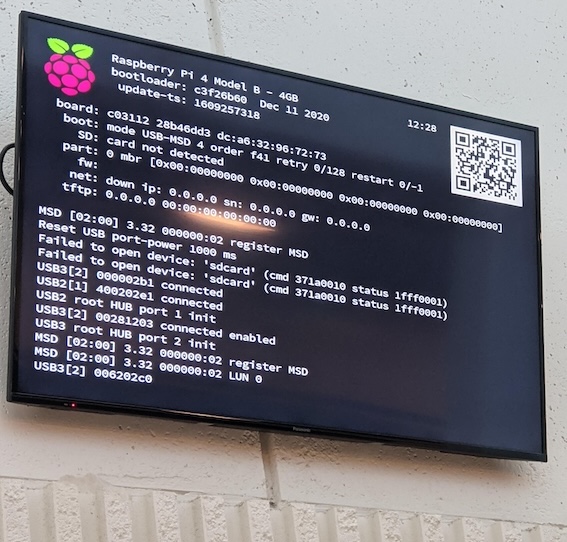
The main reason that you must use a hardware kit alongside the Raspberry Pi 4 Model B is to provide for SSD storage. By default, the Raspberry Pi uses slow Micro SD storage. Compared to SSDs, Micro SD cards have much lower available storage capacity, and were never designed to handle the rigorous write operations commonly used by operating systems and server applications. Consequently, the Micro SD in a Raspberry Pi often malfunctions after heavy use - and this has led to some great Internet pics, such as this airport arrivals display that can no longer boot from the Micro SD card:
To set up a Raspberry Pi home server:
Step 1: Pick a Pi model
While the processor and interfaces are the same on each Raspberry Pi 4 Mobel B, you can buy variants with different amounts of RAM (2GB, 4GB, and 8GB). The 8GB model is obviously the best, but if you can’t get one of those due to supply issues, the 4GB is adequate for a home server, and what I use. While my home server rarely uses more than 2GB of RAM, I’d avoid the 2GB model to ensure that everything performs well under load.
Step 2: Choose and install a hardware kit and SSD
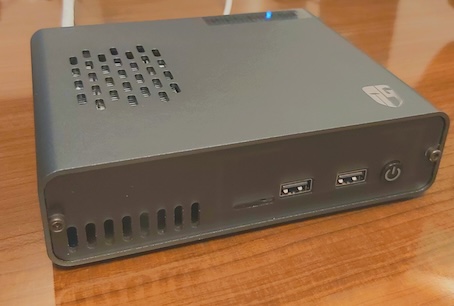
While there are many hardware kits available on the market for the Raspberry Pi 4 Model B, the Desk Pi Pro shown here often gets the best online reviews.
It comes with a beautiful aluminum case that looks great on a desk without taking up too much space, and is very well designed and easy to assemble. To keep temperatures low, an ultra-thin copper heat sink and cooler unit is also included and vented through the top of the case.
The add-on boards inside make it easy to add either an NVMe or SATA SSD. However, there is no difference in speed between the two since both will be faster than the USB bus used to access them. Thus, I’d recommend a SATA SSD as you’ll be able to get more capacity for the same price. I chose a 1TB Western Digital SA510 SATA SSD as that suited my storage needs, but you may want 2TB if you plan on storing a lot of pictures, movies, or backups.
Step 3: Install a mainstream Linux distribution to the SSD
While Raspberry Pi has their own Linux distribution called Raspberry Pi OS, I would instead recommend using a mainstream Linux distribution for a home server as they support the largest number of open source software packages, including server apps. The mainstream Linux distribution I usually choose is Fedora, but it’s not supported by the scripts that provide full functionality for the Desk Pi Pro add-on boards, so I chose Debian instead.
The process used to install Linux to the SSD in the hardware kit is often a 2-step process.
- Image a Micro SD card with your Linux distribution of choice and boot the Raspberry Pi using it.
- Execute a script (provided by the hardware kit vendor) that copies the distribution from the Micro SD card to the SSD and configures the Raspberry Pi to boot from it. After this step, you can remove the Micro SD card entirely.
Step 4: Configure the Linux distribution for remote access
When you install a Linux distribution, you’re prompted to create a regular user account for yourself that has root (administrative) access via the sudo command. You should use this account to log into the desktop after installation and set a static IP address for the system on either the wired or wireless Ethernet network. Since Debian installs GNOME by default, I used GNOME Settings to configure a static IP address on my wired Ethernet network interface of 192.168.1.111. To access GNOME settings, click the System status area (red arrow shown below) and then click the cog wheel icon.
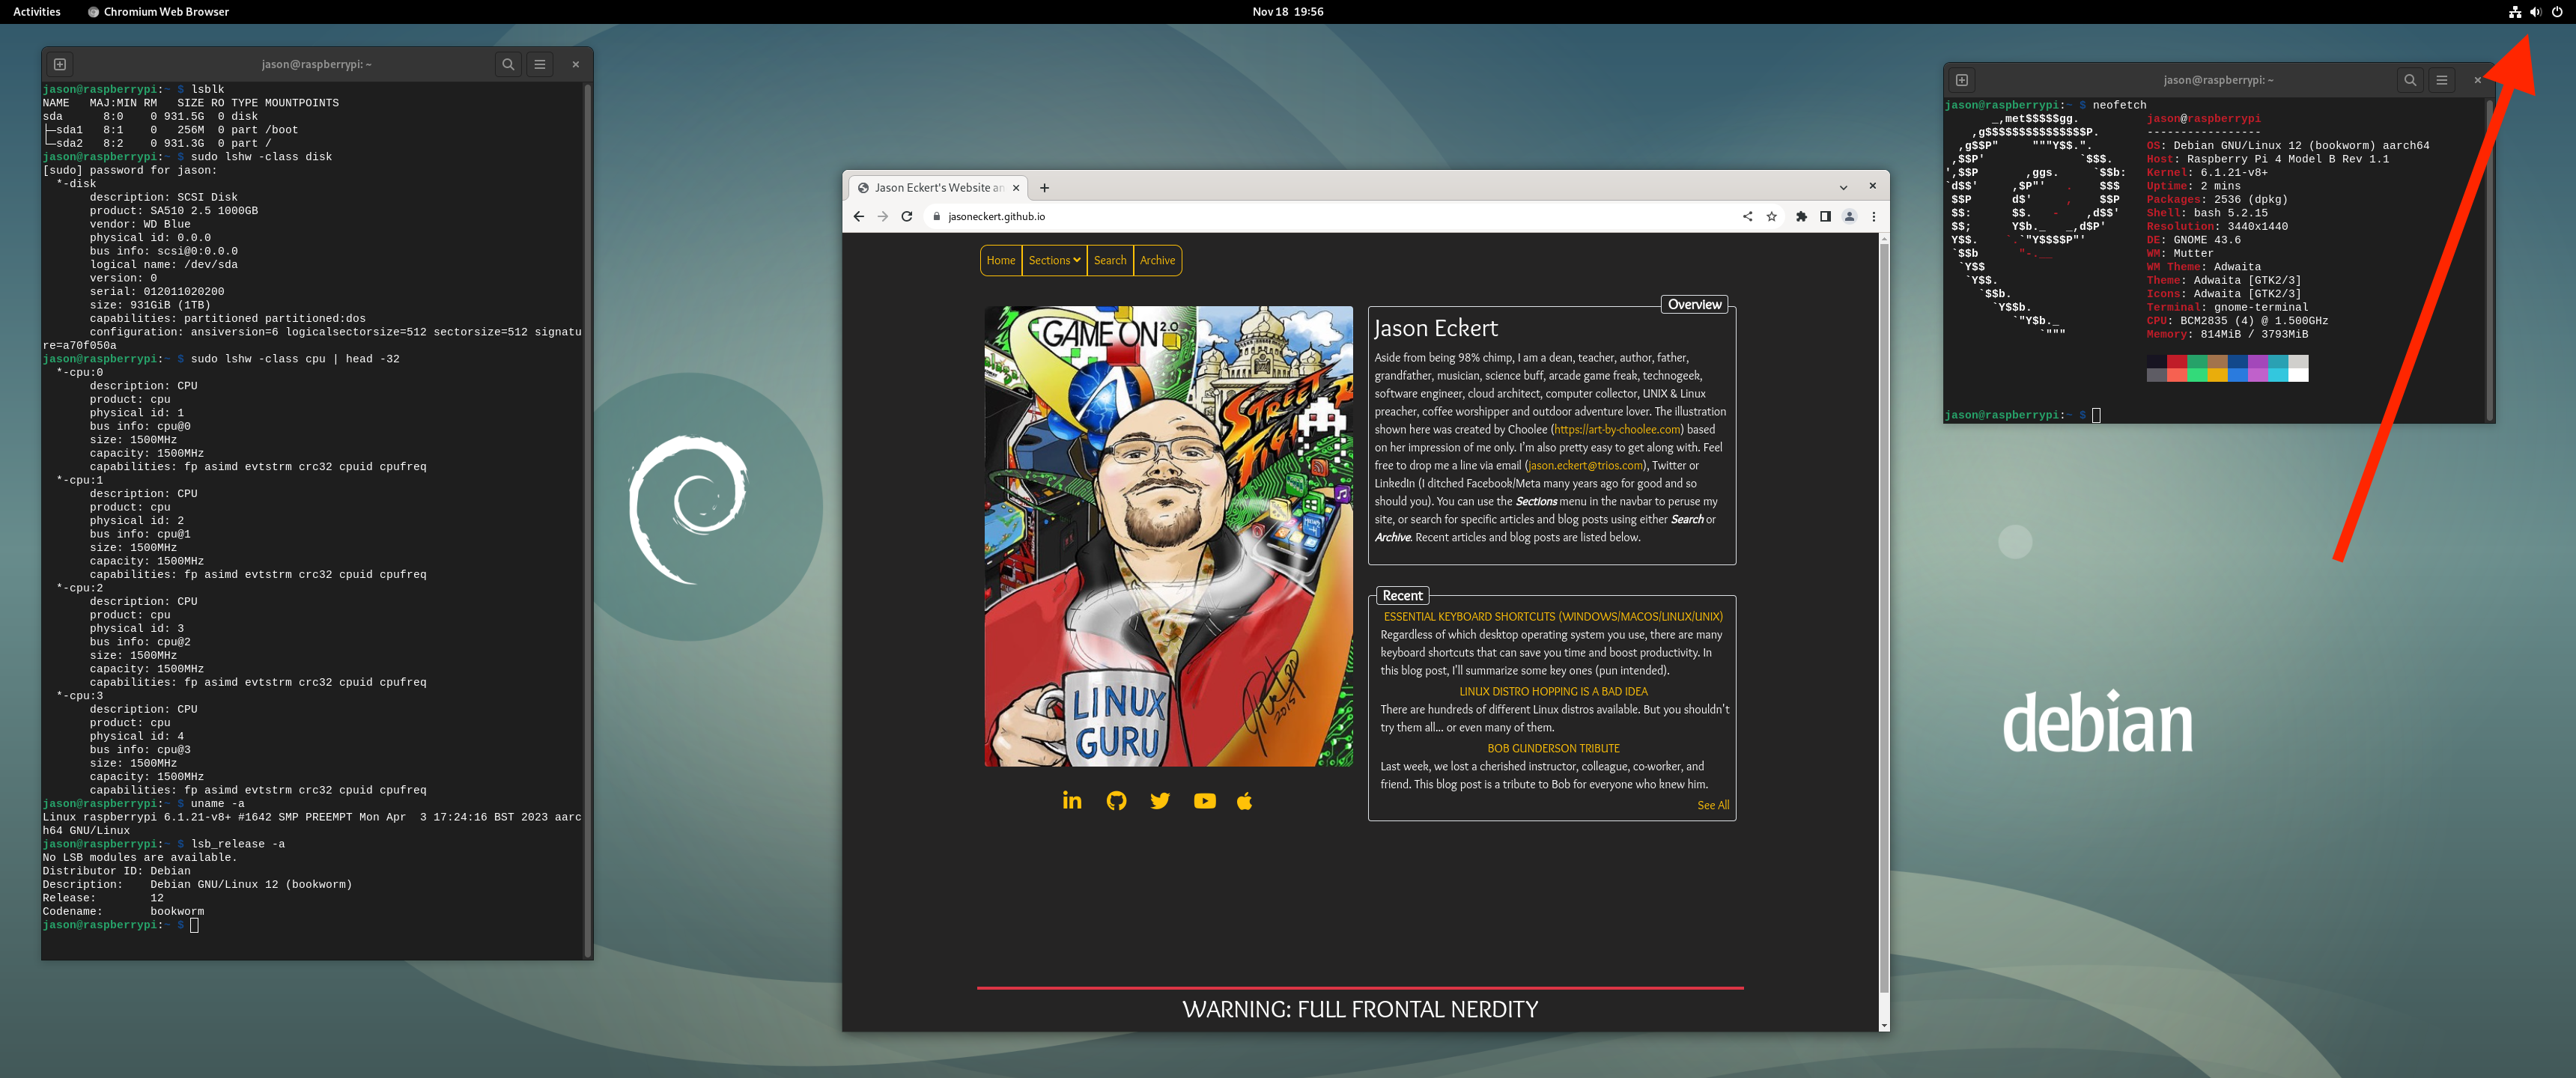
Next, you should open the Terminal app (type “terminal” at any time to search for the app) and run the sudo systemctl start ssh command at the shell prompt to ensure that SSH remote access is started, as well as the sudo systemctl enable ssh command to ensure that it’s also started at boot time.
Once SSH remote access is configured, you don’t need a monitor, keyboard or mouse connected to the home server. You can unplug the HDMI and USB connections for these devices entirely and position the home server where you’d like it on your desk. The only cables that should remain are power and wired Ethernet (if you use wired Ethernet instead of wireless).
Step 5: Access and configure the home server remotely from your PC
To connect from a macOS or Linux workstation to your home server and obtain a shell prompt, you can use the ssh username@IPaddress command (e.g., ssh jason@192.168.1.111) within a Terminal app and specify the appropriate password when prompted. If you use a Windows workstation, you can download the Putty app and use it to connect to the IP address of the server, supplying the appropriate username and password when prompted.
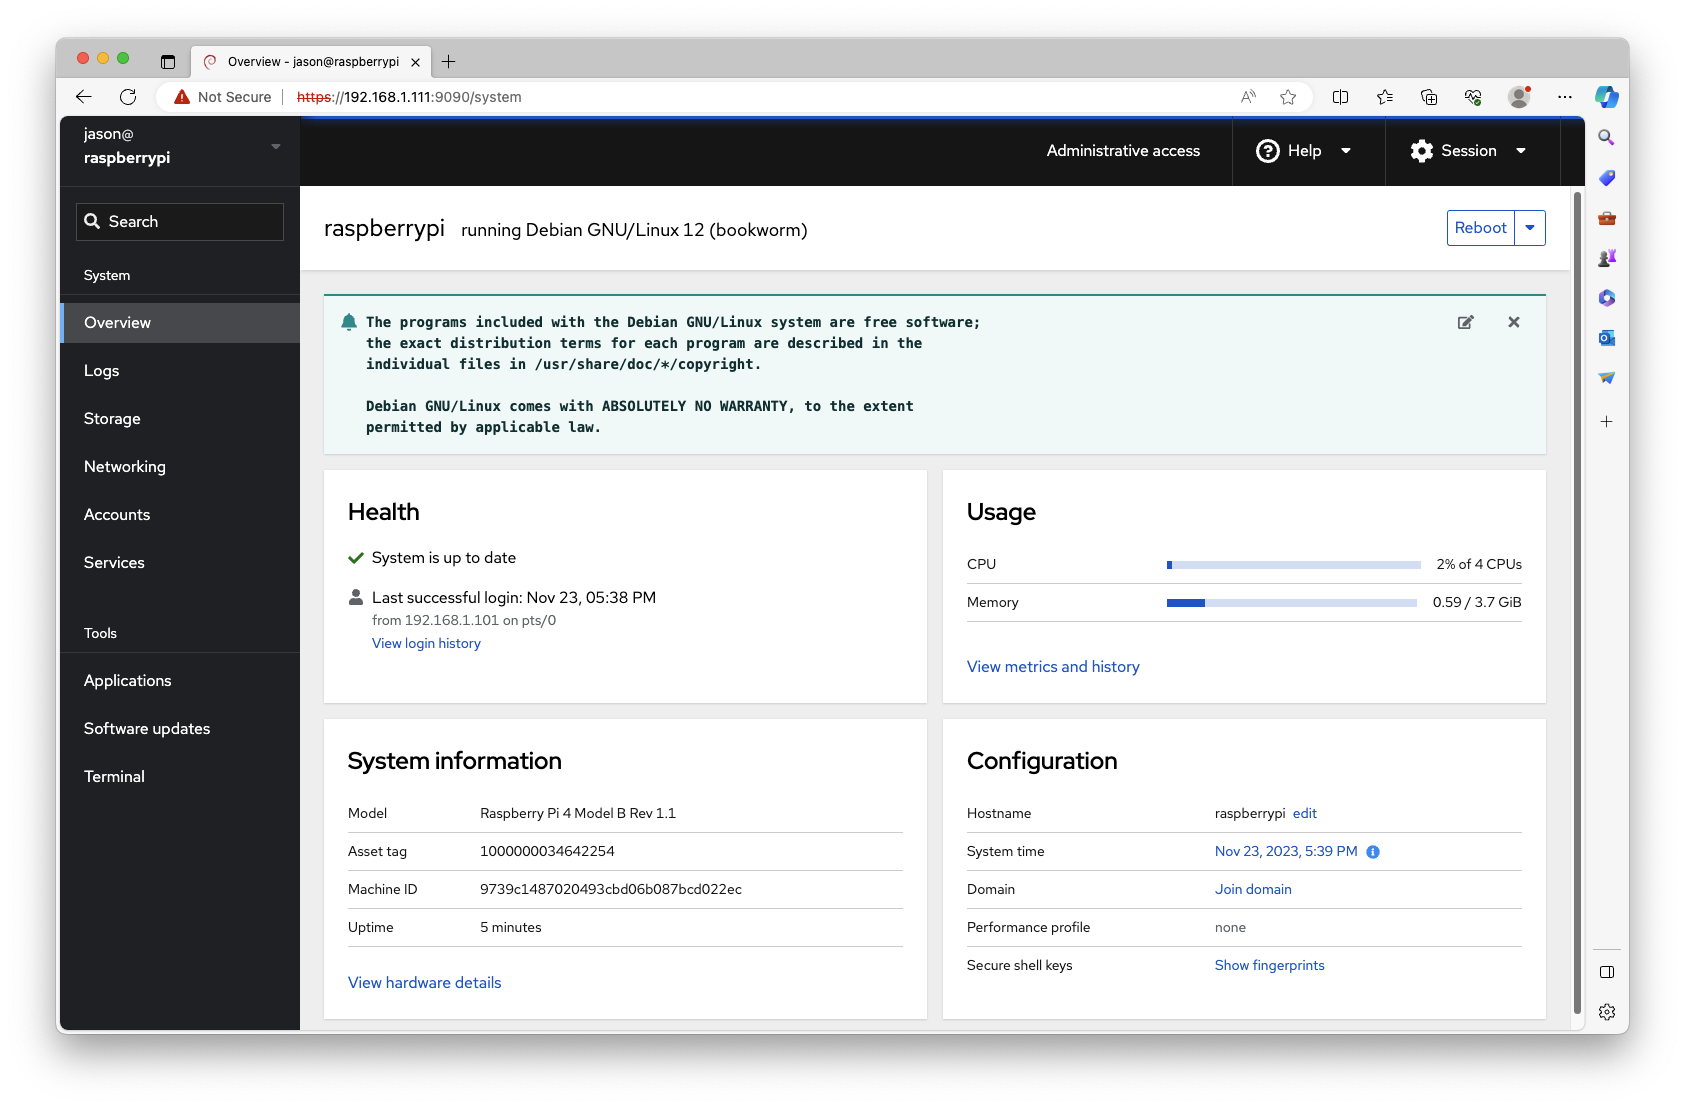
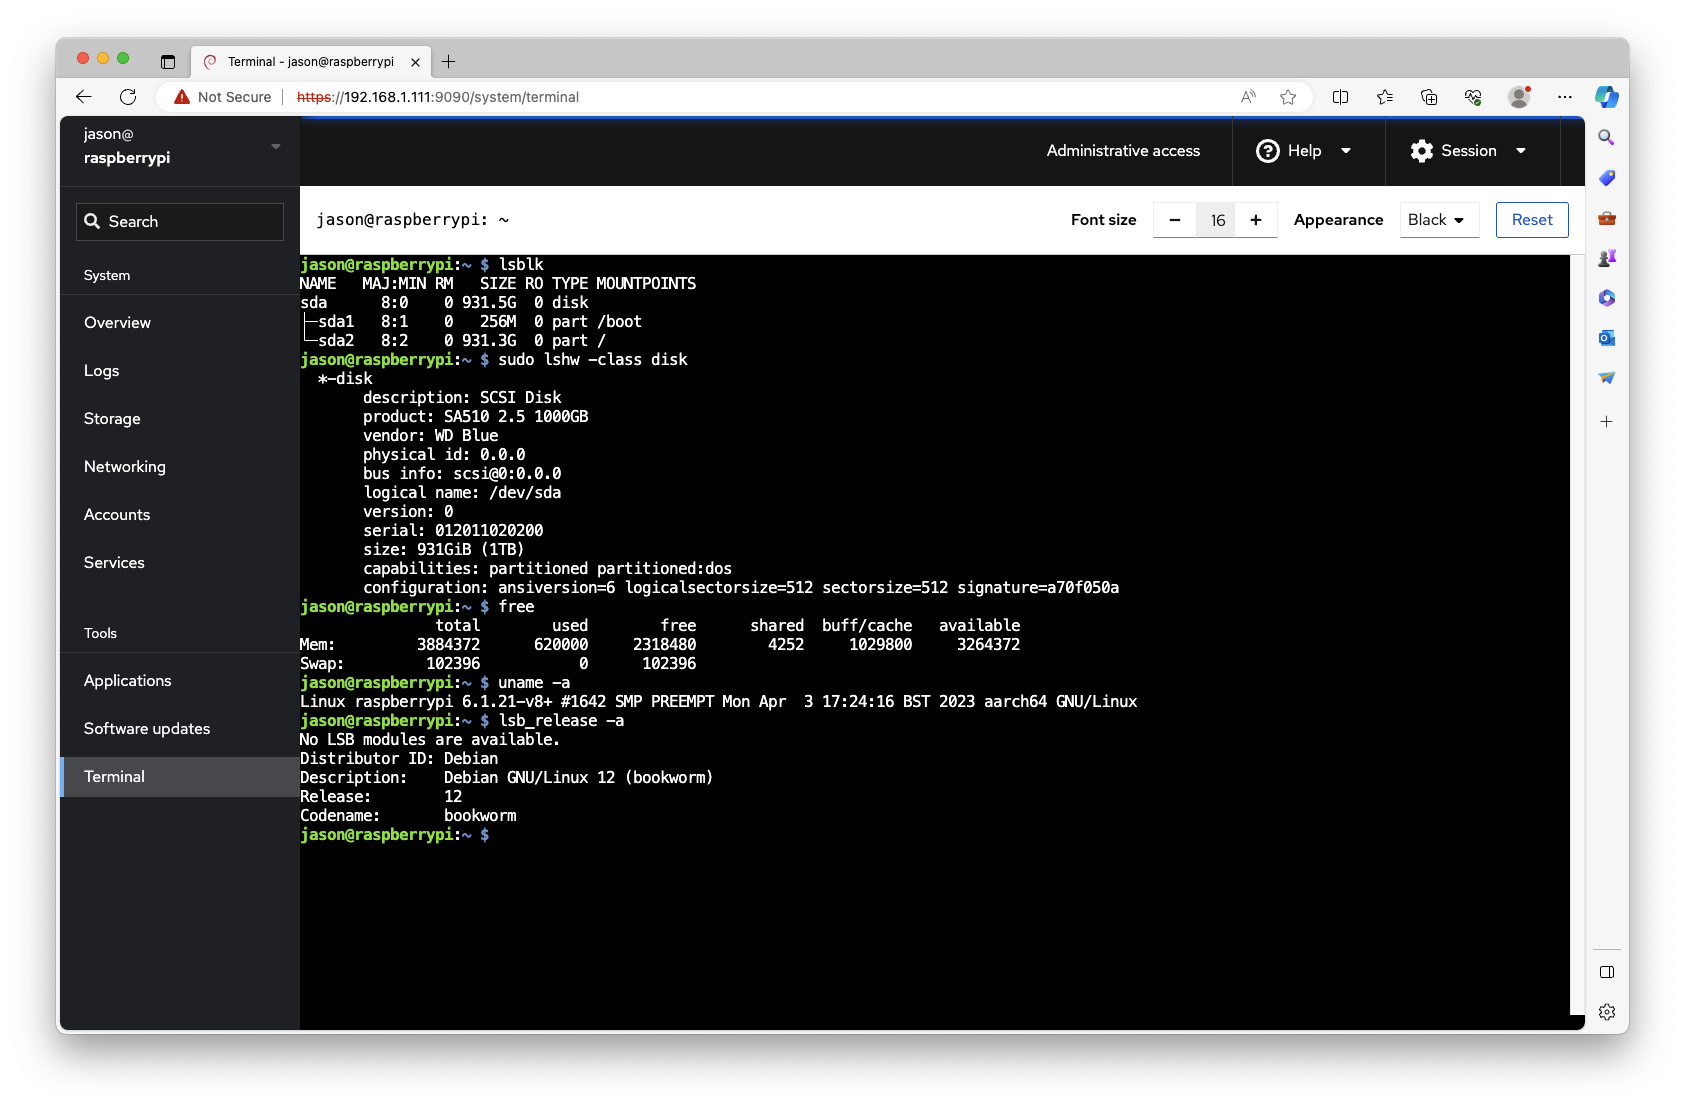
Once you have a shell prompt on your home server, you can install and configure services that you wish to use on your home network. I recommend that you first install the Cockpit remote web administration tool using the sudo apt install cockpit command (on Debian). Following this, you can run sudo systemctl start cockpit to start Cockpit and sudo systemctl enable cockpit.socket to ensure that it starts at boot time. You can then access Cockpit by navigating to https://IPaddress:9090 from a web browser on your workstation (e.g., https://192.168.1.111:9090) and log in with your username and password. Cockpit allows you to easily configure and manage all aspects of your Linux server, as well as access a shell prompt if you don’t wish to use SSH:
 Another service that I recommend installing on your home server is Nextcloud. Nextcloud provides a central platform you can access via a web browser to store and manage pictures and other files much like how Dropbox, OneDrive, or Google Drive does, as well as record notes, perform email and calendaring, and even create and edit documents using LibreOffice (the open source version of Microsoft Office):
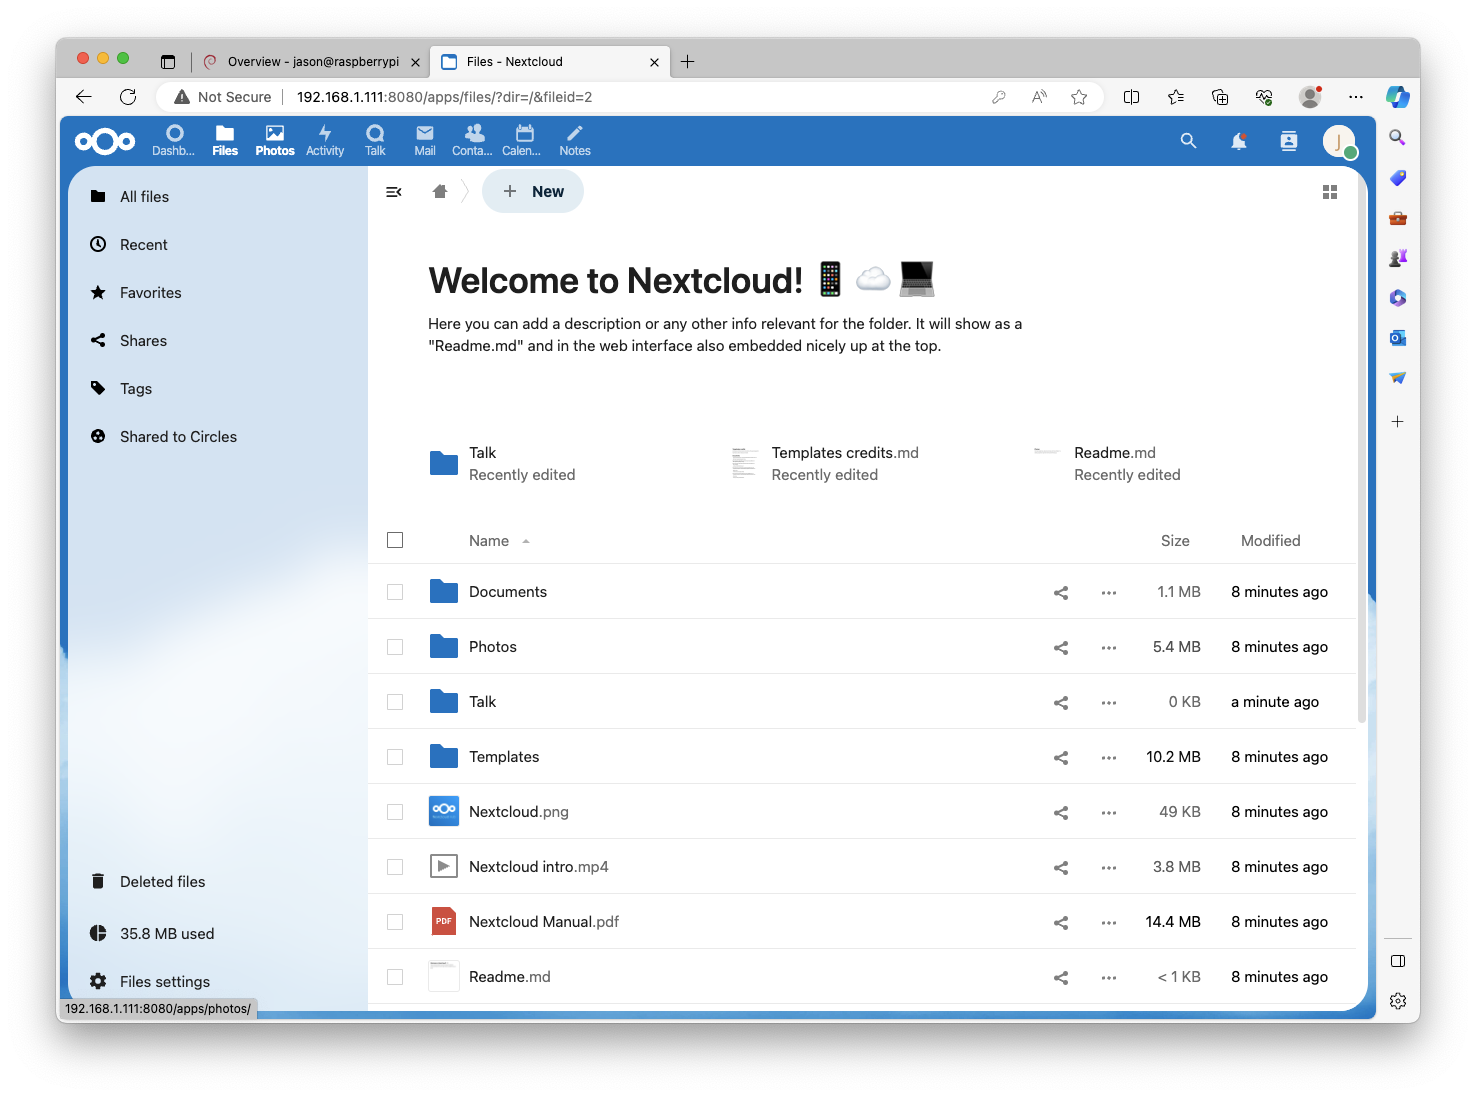 Like many services, Nextcloud is available as a container image that you can download and install on your home server. To run containers, you must first install the Docker container runtime using
 sudo apt install docker.io (on Debian). Following this, you can run the sudo docker pull nextcloud command to download the Nextcloud container image and sudo docker run -d -p 8080:80 nextcloud to start the Nextcloud container. Next, you can navigate to https://IPaddress:8080 from a web browser on your workstation (e.g., https://192.168.1.111:8080), complete the setup wizard, and start using Nextcloud.
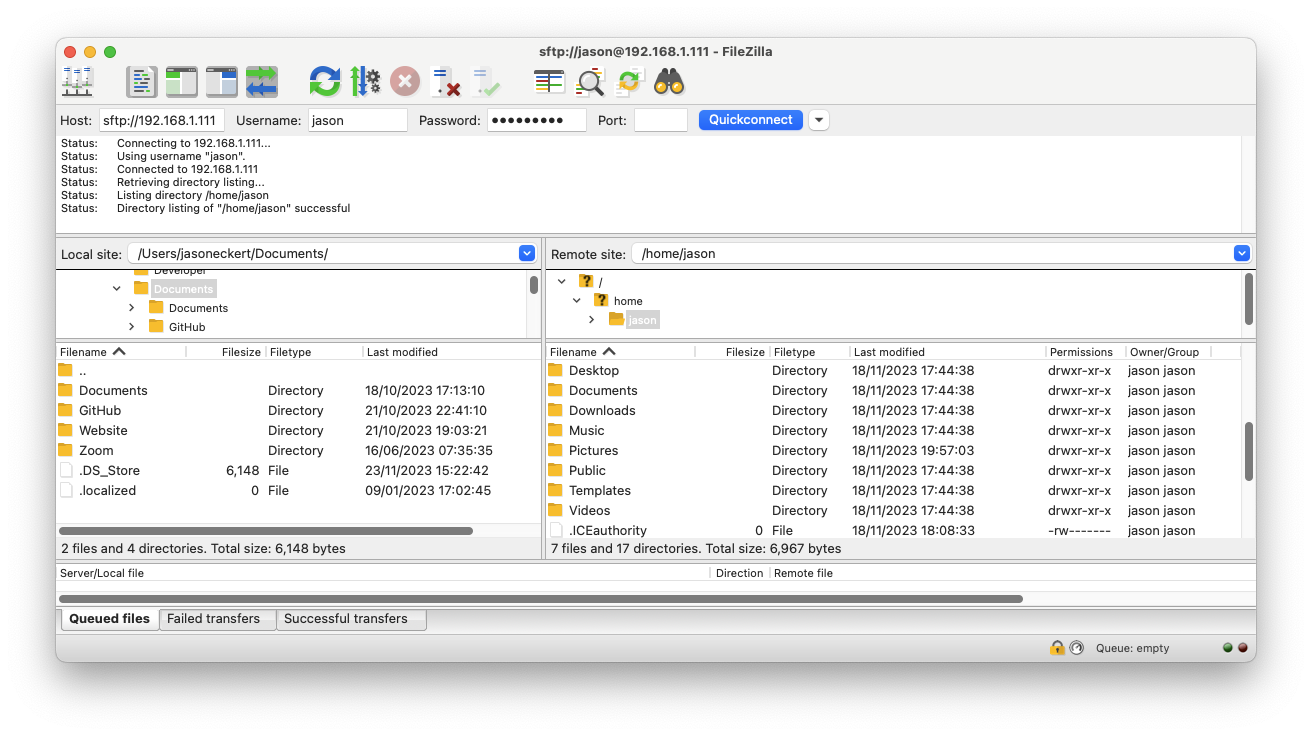
If you just need to store files (e.g., backups) across the network, then Nextcloud may be overkill. In this case, you could instead install the Very Secure FTP server using sudo apt install vsftpd (on Debian). Following this, you can edit its configuration to allow for file uploading by running the sudo nano /etc/vsftpd.conf command, locate the line #write_enable=YES, remove the # to uncomment the line, and save your changes. After this, you must restart the Very Secure FTP server using the sudo systemctl restart vsftpd command for the changes to take effect. Then, on your Windows, macOS, or Linux workstation, you could download the free Filezilla app and use it to connect to sftp://IPaddress (e.g., sftp://192.168.1.111) using your username and password to transfer files back and forth using encrypted FTP:
 Other services you require will depend on what your needs are from a home server. You may wish to install a streaming media server (e.g., PLEX, Kodi, Subsonic), a service that blocks ads on the systems on your network (e.g., Pi-hole), or even a Minecraft server. Regardless of which services you choose, there are always easy-to-follow websites and YouTube videos that will guide you through the configuration on the Linux distribution you chose.